If you are lucky enough to get a trail camera picture or two of a nice-looking buck during the preseason, you are probably trying to work out the best way to hunt him. One of the best ways to track down a specific buck is to locate his core area. It is easier said than done, but if you can find his core area and keep it under surveillance with trail cameras, you can start to see your target buck’s movement patterns. Then if you know where he is going to be or is likely to be during daylight hours, you can pick the perfect time to be in the stand and send an arrow his way.
What Is a Core Area?
We have all heard of a bucks home range. A bucks home range is typically the size of a square mile which is about 640 acres. Some bucks will have smaller or much larger home ranges, but 640 acres is the standard. The home range also is not square, they can be all sorts of organic shapes. Typically the home range is as big as it needs to be so that it can include plenty of food sources, water, and a few places that have nice cover for bedding. Home ranges are also known to change throughout the seasons. For example, you may see a buck quite often during the summer, but he could disappear come September.
A core area is as the name would suggest, the core of the home range. It is not necessarily in the middle of the home range, but it is where the buck spends the majority of its time during daylight hours. Just because a buck moves the most during the night, or is nocturnal, does not mean he fades out of existence during the day. If you can find the core area, it is very possible that you can catch the buck on his way into or out of his bed in the mornings or evenings even if he is nocturnal.
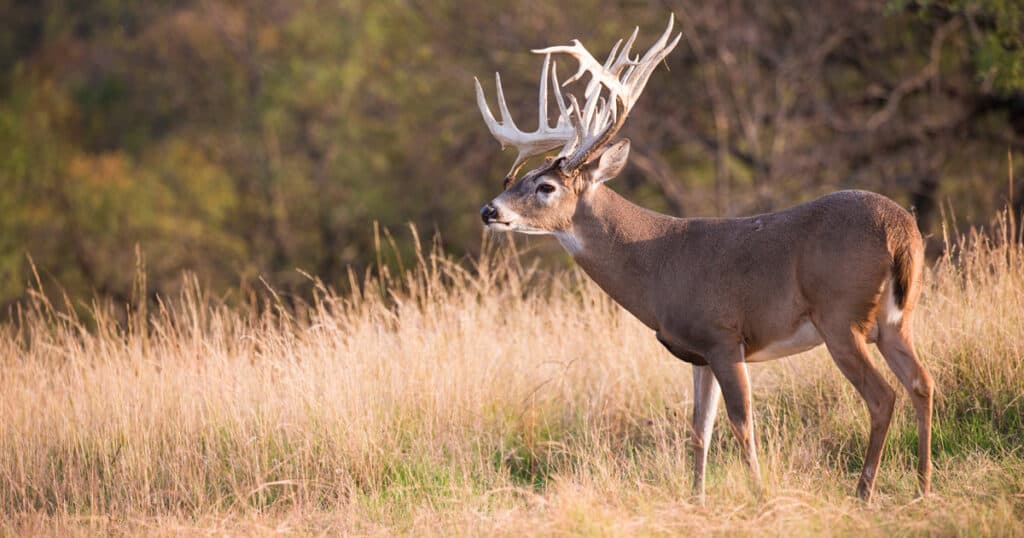
A bucks core range will be about 25 to 75 acres big, depending on the buck and his home range. Typically he will spend about 75 percent of his time within this core area. So if you get a few daylight pictures or see a buck a few times in the same area, it could be a good indication that the area is in or close to his core area. His core area will consist of his bedding area and a food source or two that is close by. If he has options for food near his bed, he is probably going to go with the most nutritious option.
Don’t Run Him Off
If you know you have a nice buck in the area and want to start narrowing down his core area and patterns, you need to be careful not to run him off. You will need to do a lot of scouting to narrow down exactly where his core area is, and it can be easy to spread a lot of scent around and even jump a few deer. Anything you do that is adding pressure to the deer is not ideal. Bucks change their core areas with the season, so you can also bet that they will change it based on pressure as well.
This is ten times as important if there is a property close to yours that is not hunted. If deer are feeling a lot of pressure on your property, they may move to the non-pressured property. Just make sure you have your scent under control when you go scouting and make sure you take things slow, just like if you were hunting. After you hang your cameras, I would suggest you do not check them for about two weeks.
Where to Find a Bucks Core Area
The most important part of the core area is bedding. You could say that a good bedding area is the core of a bucks core area. That’s core squared. If you have no idea where a bucks core area is, the first thing you need to do is identify the top buck bedding locations on your property. This is a good idea to do, even if you do not have a single buck in mind. Knowing where the buck bedding areas are is going to be a powerful weapon that you can use year after year.
A section from my article How to Find Public Land Buck Bedding Areas:
How to Find Buck Bedding Areas With a Topo Map
Before you put boots on the ground, it is a good idea to do your homework. Looking at maps can give you a better idea of the layout of the land in a short amount of time. This is much better than walking hundreds of acres. Learning to use maps is important and can cut down on scouting time, but it is not an exact science. Just because an area may look good from the maps’ point of view, does not mean there will always be buck beds there. Before you hang a stand, you will need to scout the areas you selected in person.
There are two types of maps you can use, satellite maps, and topographical maps. It is important that you look at both. Both of these maps have their benefits. The main map you want to use is the topographical map. When you look at a topo map, you see ridges and contours of the land. You can use the contour lines to estimate where bucks will bed.
You want to look for areas that will offer good protection. When bucks bed they need to be able to see a long way in front of them and smell what is behind them. They do this by bedding at points and on ridges. You can see in this picture that we expect to see buck beds at the red circles representing points, or in the blue circles representing ridges. Bucks generally will not bed at the very top of hills, but slightly lower in the slope.
Bedding like this gives the buck a height advantage which allows him to see very far in front of him. Staying below the ridgeline lets him smell threats on top of the hill before they could ever see him. Although if the wind comes from the east instead of the west, we would expect him to bed on the other side of the depression. So when looking at a topographical map you want to look for places that would give the buck these advantages. Chances are there are plenty of areas like this, but the land configuration is not the only factor.
Read the rest of How to Find Public Land Buck Bedding Areas Here
While these points and ridges are definitely going to be some of our main points of interest, we also need to look in a few other places as well. One place that mature bucks love to bed is a thick hunting sanctuary. Places where people can not hunt like city limits, parks, or industrial areas. Just because these places are not on your property does not mean you can not catch a buck on a trail going to or from his bed in one of these sanctuaries.
When a buck repeatedly beds in a particular area, he will leave plenty of sign. Besides the singular indention on the ground, he may as well leave rubs and a scrape line close by. It is not uncommon that a buck makes a scrape line on the trail between his bed and favorite food source.
His bed–no matter where it is–will also have plenty of cover around it. Even if he beds on a ridge, he will likely seek out a fallen tree or thicket to bed by. So when you are looking for a buck bed, look for a singular indention on the ground, plenty of buck sign, and good cover. Then get the heck out of there. You want to know where he is bedding but rooting around it a lot and leaving scent there repeatedly may run him off. So if you think you know he is bedding there, hang a camera near it–not on top of it–then check it after a few weeks to confirm your theory.
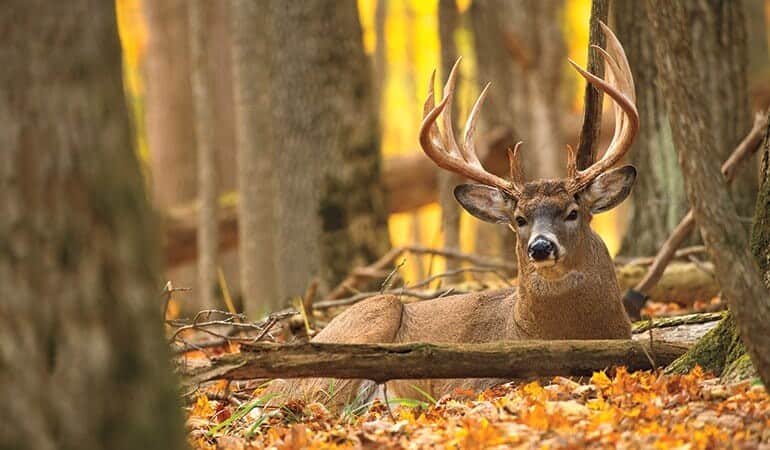
If you can figure out his bedding area that is a huge deal, figuring out the rest of his core area will likely be much easier, but if you can not find out where he is bedding it is not the end of the world. If you can not find his bedding area, you need to start looking at the most popular areas on the rest of your property and start placing trail cameras.
Start Placing Trail Cameras
If you have a target buck on your property, we want to find his bedding area, but we also want to know where he is when he is not bedded. To do this we are going to go with a wide net approach with our trail cameras. I know trail cameras get awfully fancy nowadays, but I prefer cheap–but quality– trail cameras. That way I can have 4 quality cams instead of 1 fancy one. The more cams you have the more area you can watch.
So to find a bucks core area, start by placing a cam at every hot spot around the property. I would say use about 1 camera per 20 acres or less if you have enough cameras. If you need to move cameras around every now and then to cover everything that is fine, keep moving them until he keeps showing up on the cams.
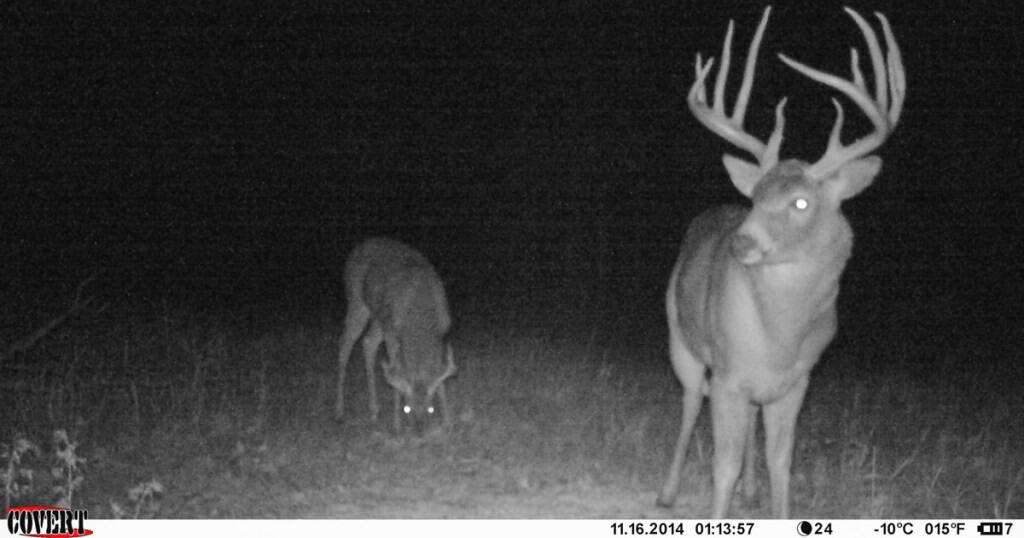
As the weeks go on, move around your cameras to focus on the area you are seeing your target buck. If he keeps showing up on camera A and not camera B, then take camera B down and put it closer to A. We want to keep doing this until we have a good idea of where this buck is traveling while he is on his feet.
Eventually, we can start to have an educated guess at this bucks pattern. Then we start to know how he acts on certain days and we can use that to place our stands in the perfect place to put an arrow through him when he walks that trail that you have 5 pictures of him on in the daylight.
Pick the Perfect Time to Strike
So ideally you have either seen or have repeated trail camera pictures of your target buck and you know where he is likely to be bedded. You are also able to develop some sort of a pattern that your deer is following on a somewhat normal basis, if this is the case it is time to get in there after him and hopefully put an arrow through him.
On the other hand, maybe he does not move all that much during the daylight hours. If your buck is mostly nocturnal, you need to wait until the late October cold fronts come in to go after him. Cold fronts get all the deer on their feet more than normal and if there is going to be a time where your buck is moving in the daylight before the rut starts that is going to be it.
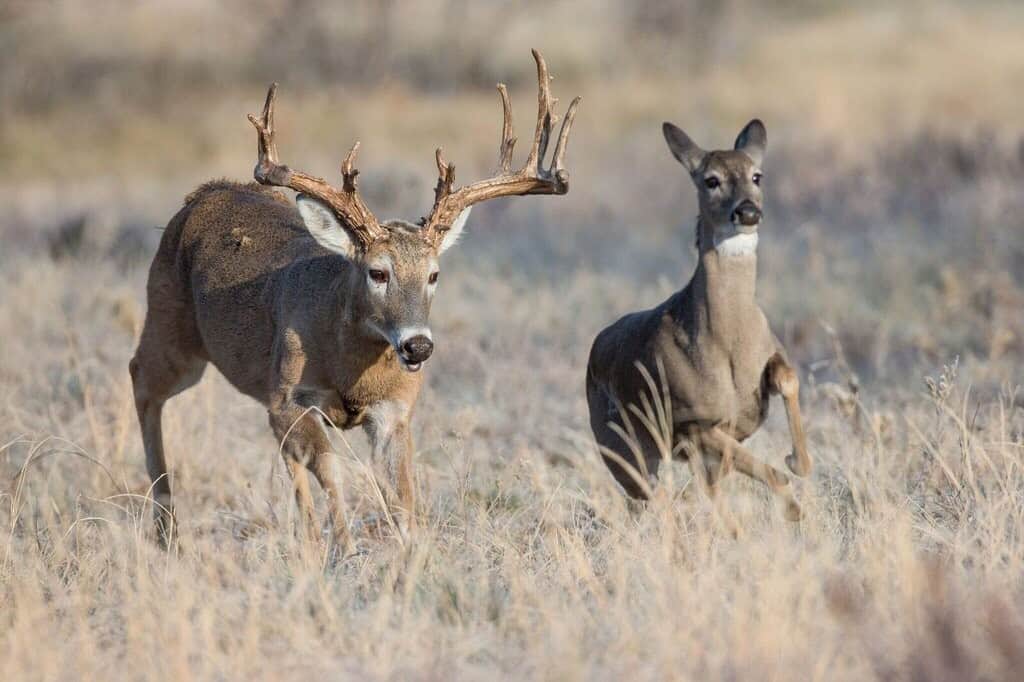
The next thing that you need to be aware of is that when the rut starts in early November, you can just about through all of his patterns and core area out the window. He is going to be chasing does far and wide and he does not care how far he has to go to get with a doe in estrus.
It’s Okay if You Don’t Connect Before the Rut
If things do not work out and you do not get a shot at your target buck before the rut starts, that’s okay. If he makes it through the rut, it is very possible he will come back to his familiar home range–on your property–after the rut is over in December. Then depending on which state you are in you could have another whole month to chase that buck! After the rut, he will go back to focusing on food sources and trying to recover from all of the chasing.
If you still do not get a shot at him and the season closes, there is always next year. Hopefully, your buck makes it to next year. Plus if he does, you already have so much information about him that puts you at a much larger advantage next year. Personally, I would wait a few months after the season closes and then I would get back out there in the summer and start scouting for him again. You can start with the wide net approach again and then work it down all over again.
After the season ends I also suggest you try to find his sheds. Typically I wait until late February or March before I start shed hunting, but if you can find your target bucks sheds that means he made it through the season and it is game on next year.
Hunting a Single Buck Is Hard
Honing in on one single buck is a huge challenge. This is too much work for the average hunter. Most of us are just sit in a nice stand during the rut and let out a few grunts to see what mature bucks are in the area, which is enough work on its own. If you are able to scout, pattern, and harvest a particular buck then you are a skilled hunter. I do not just mean shooting a buck you happen to get a picture of, but truly only go after a single buck the whole year. It is definitely a challenge so if you try it and are not successful, do not be discouraged. It’s tough! Just get back out there next year and put an arrow through his lungs.
Thank you for reading my article about finding a bucks core area. I hope you enjoyed it and learned something you didn’t already know. If you like my content, subscribe to my weekly update. If you have any other questions about buck core areas or just want to connect, feel free to email me at Patrick.Long@omegaoutdoors.net.
